Sure. Ask them please if you can pass args to “Application Path” like these:
and which port is it or how to find it 
Sure. Ask them please if you can pass args to “Application Path” like these:
and which port is it or how to find it
If I use the boiler plate file they provided - app.js and put that as the Application Path, it listens on port 443 - https://mysite.com/ and results in “It Works!”
I’m thinking it will probably require using file to bootstrap to another?
I saw another example image in their tutorial I linked in the first post where the server port was passed as a const to the server.listen command so I’m curious if I can use app.js cleverly to get this served up.
Do npm run build, modify app.js with this code
var frontity = require("./build/server").default;
var http = require("http");
var server = http.createServer(frontity);
server.listen();
and add app.js back to the “Application Path”.
Yay it works
Ok, so I now know how, if for some reason I ever had the desire, to set up cpanel Node and deploy a Frontity site in production.
Now I’m going to set up a virtual environment for the dev env to continue playing and learning, thank you so much for your help with this!
Thanks to you Phillip 
I don’t have much experience with cPanel so I’d like to ask you some questions:
Yes, similar but there are differences and it really depends on the host offerings. Like Wordpress, there are many add-ons both core and 3rd party. NodeJS Selector is how they reference the Node feature.
FastComet told me this:
Note that indeed applications that are using in their configuration a hardcoded port it is not compatible with NodeJS Selector as the applications used by it are handled by the Passenger service on the server and no port required for it.
You can run more about Passenger in the following link:
https://www.phusionpassenger.com/library/walkthroughs/basics/nodejs/fundamental_concepts.html
As such for handling applications you should work with them via SSH using ‘npm, node and pm2’ services.
So this environment can only be used to “serve” the application once ready for production.
I really don’t know as this is my first but I’ve seen NodeJS as a feature for quite some time across many different hosts that use cpanel.
Yes I think most will be very similar experiences. I’m going to retrace my steps and post back. Cheers!
Let’s give it a shot. 
Here’s what seems to work for me w/ Fastcomet hosting…
Create your domain/sub-domain as one normally would with cpanel. I chose to create a new sub-domain called “headless” in this example with the root folder being /headless in my hosting plan. I verified the DNS cname for headless also points to my Fastcomet server IP. I test a simple hello world html file to ensure all is good.
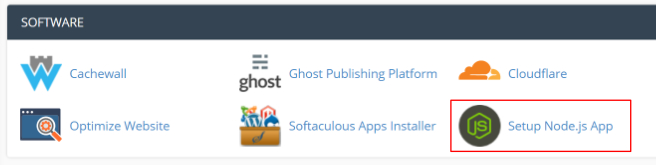
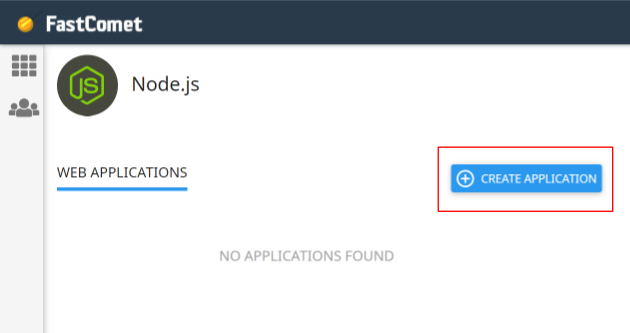
Back in the cpanel myriad of icons, locate the Node.js icon:
*the site should also be live in your browser now with a basic “it works!” message.
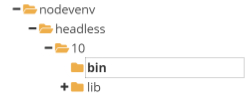
You should be aware another folder is created in your root hosting path called /nodevenv/ where another instance of your app/domain/sub-domain name lives as a folder and allows for the Node executables to live (I hope I am saying this correctly):
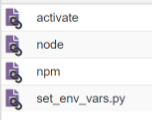
The files in the bin folder look like this:
npx frontity create headless (or your app name/path) doesn’t really matter because the npx runner creates the app folder which in this case will be a sub-folder within our cpanel app folder, again in my case “headless” within our original “headless” folder because…npx frontity create needs the folder of which to be created to be empty or it won’t run
*in the main app folder, (/headless), node_modules is sym linked to the virtual path /nodevenv/headless/10/lib/node_modules/
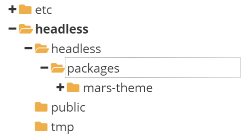
(to /lib folder):
Now that the theme is moved, copy all of the remaining files in /headless/headless/ to the main app /headless/ folder and back in the ssh terminal, also from the root app /headless folder execute npm install which will install all of the dependencies in /nodevenv/headless/10/lib/node_modules/
Now execute npm run build to create the /headless/build/ folder to create the final production version we be will serving to the public. (you can copy over this later with your final dev server’s files)
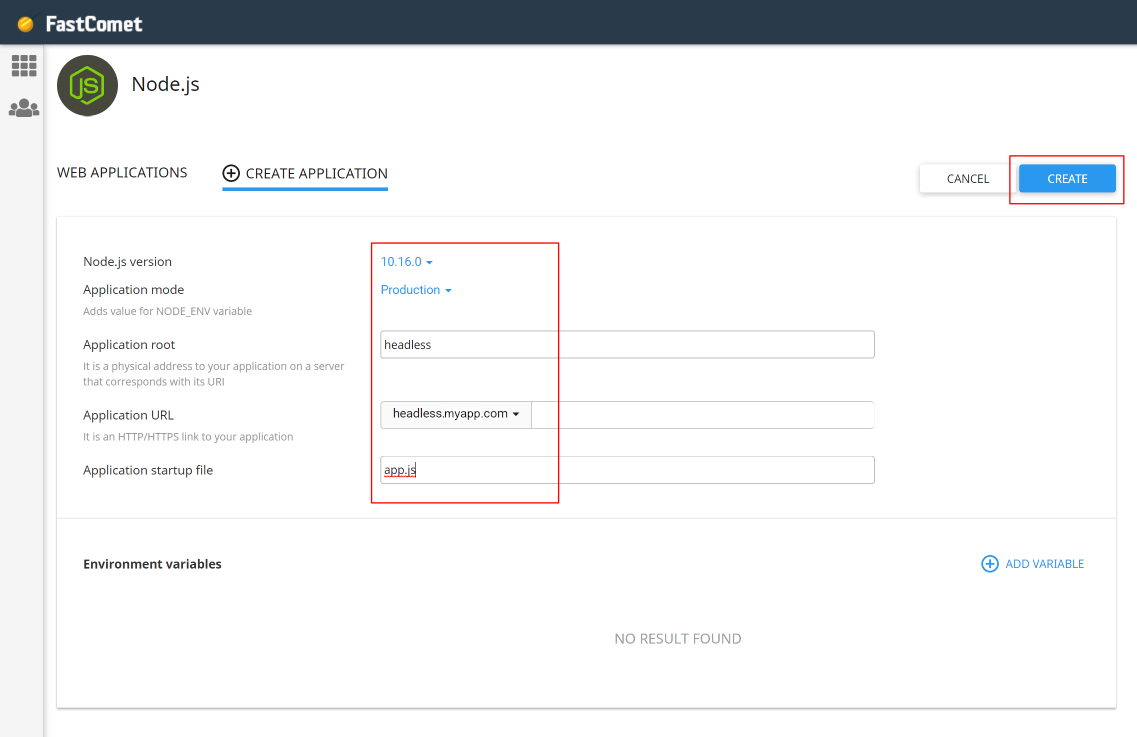
Edit the /headless/app.js file to now serve our frontity app:
var frontity = require("./build/server").default;
var http = require(‘http’);
var server = http.createServer(frontity);
server.listen();
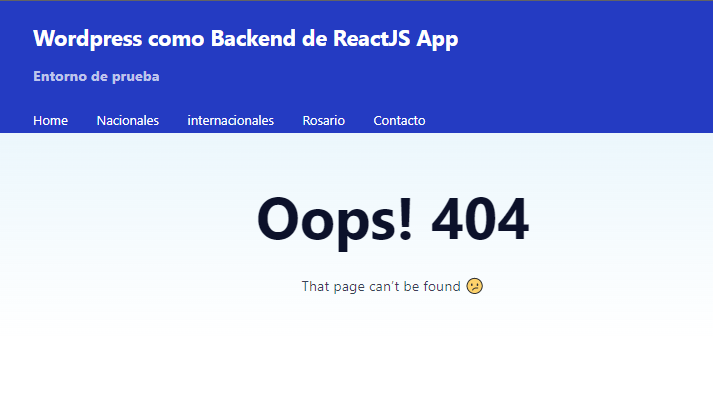
Back in cpanel Node.js area, restart the application and check the browser, you should now see your frontity app.
npm run build and then restart the app from cpanel.Best of luck, cheers! 
Wow! Thank you very much @pingram3541, the guide is great! I will take a look with more detail. I was trying to do the same with SiteGround cpanel but Node is just available for dedicated servers and I have a shared one. I asked them and they are not planning to include it, so I won’t be able to test it there.
Happy to help!
Yeah I think it all depends on the host and if/how they support Node within their cpanel environment.
I saw a write up about installing Node @ SiteGround and it looked to be all via terminal commands which I expect to act much differently than via Phusion Passenger.
If I happen across another cpanel host and see Node.js and have the time, maybe I’ll see if these steps that worked at FastComet work elsewhere too.
This is both amazing (Phillip’s tutorial) and amazingly difficult (the steps involved).
My take here is that we need to explore alternative ways, like recommending the PHP Theme Bridge and hosting the serverless function elsewhere or providing a one-click-install for cPanel.
Thanks again @pingram3541 for the detailed tutorial! Amazing work.
Thanks for the awesome feedback! I’m so excited and can’t wait to see what’s cooked up next!
hy after this i am getting 503 error i stuck in installing frontity in my cpanel please help
Hi @inshaal
Apologies for the delay in getting back to you.
The 503 error might indicate that the web server service has not started. I guess you were following @pingram3541’s guide above. Did the previous 11 steps all work ok? Did you get any errors when you ran any of the commands in steps 7, 10, 11? If so, what errors did you get?
Inverted Comma is the issue:
The issue lies here in this line of code as he copied code from @pingram3541’s guide and i think he accidentally places inverted commas instead of single/double quotes:
var http = require(‘http’);
Replacing this will resolve the issue if 11 steps worked fine:
var http = require('http');
OR
var http = require("http");Well spotted @hammad 
@inshaal let us know if this fixes the problem for you.
Also we’d love to know what you’re building with Frontity. Do you have a link to your site?
@pingram3541, amazing tutorial, but I have a small doubt at step 6: I should get the Node snippet PLUS an SSH generated key and paste it into the subdomain (headless, in your case). How should I paste it there? Is it a txt file? Should I upload the generated key file there? Sorry if I am asking a redundant question, but I have never done that before. Thanks!
Hi Cassiano,
It’s been a while since I have done this so things could have changed but no just copy the command provided (step 5) and then SSH into your hosting environment using your preferred SSH client then paste and execute that command from the command line.
The SSH generated key is for your SSH client to connect you to your server’s terminal giving you access to the command line interface where you will paste the copied snippet (command) and once executed, it will place you into the /headless folder (if you used same naming as my example).
Hi the follwing code will help to deploy frontity website over SSL (https://your-site.com:4000)
const frontity = require("./build/server").default;
const https = require('https');
const fs = require('fs');

const options = {
  key: fs.readFileSync('your_ssl.key'),
  cert: fs.readFileSync('your_ssl.cert')
};

const server = https.createServer(options, frontity);
server.listen(4000);
the *.key & *.cret file on the same direcory of app.js file
i hope this will help
thanks